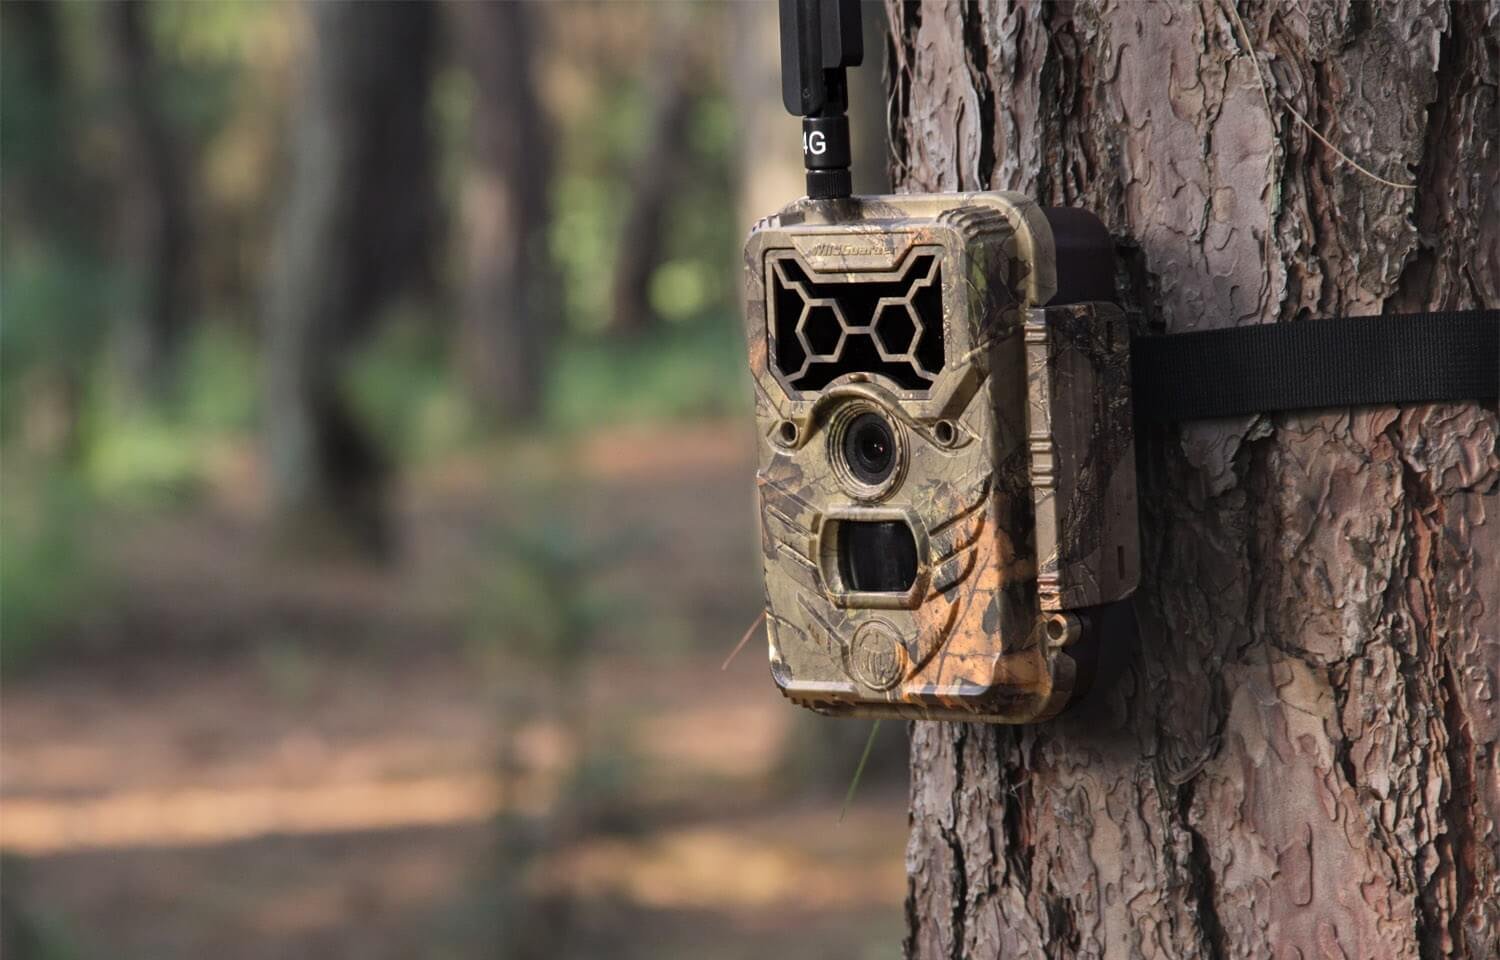
Trail Camera Placements for Big Buck: 7 Best Spots

If you’re on the hunt for big bucks, right trail camera placements can be one of your best allies. But simply setting a camera anywhere in the woods won’t do the trick—understanding prime locations, deer behavior, and seasonal movements is crucial to getting the images you want.
In this guide, we’ll share proven strategies for placing your trail cameras in high-traffic areas that big bucks favor. You’ll also learn how to adjust your placements over time to keep up with changing patterns and how to avoid common pitfalls.
So let’s get your trail cameras in the right spots to make this season a success.
How We Approach Trail Camera Placement
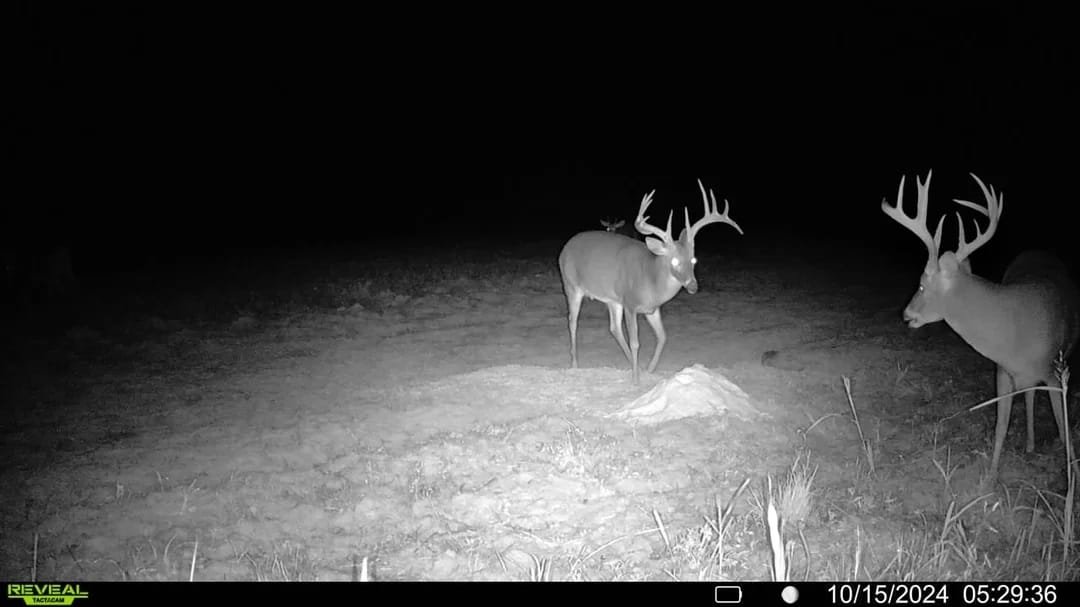
When scouting with trail cameras, we focus on three things before choosing a mounting location: fresh deer sign, predictable travel routes, and the season’s dominant food and bedding patterns. Rather than leaving cameras in one location all season, we review the photos regularly and move cameras when fresh tracks, rubs, scrapes, or changing food sources suggest that deer movement has shifted.
This approach helps separate a location that simply looks promising on a map from one that is actually being used by deer.
Trail Camera Placement Essentials for Big Bucks
Before you start placing your trail cameras, it’s essential to know a bit about deer behavior and how your camera fits into an overall scouting strategy. For a deeper look at camera selection, setup, settings, and scouting techniques, see our complete trail camera guide. Bucks tend to be elusive and are more active at certain times of the day and year.
Understanding their movements and routines will allow you to choose camera placements that maximize your chances of catching them on film.
Understand Your Targets and Patterns
Bucks are creatures of habit, especially in the summer and early fall when they’re focused on food sources. As the rut approaches, their patterns shift with their breeding behaviors. Start by mapping out the area and identifying key features like bedding, feeding areas, and water sources. Placing cameras along natural travel routes between these spots will give you a head start in understanding their patterns.
If you’re also building a broader hunting strategy, our ultimate deer hunting guide covers deer behavior, scouting, and other fundamentals that can help you put your camera data to use.
Look for Fresh Deer Sign
Before mounting a camera, look for evidence that deer are actively using the area. Fresh tracks, droppings, rubs, scrapes, trails through vegetation, and worn crossings can tell you much more than simply choosing a spot that looks good on a map. Prioritize locations where multiple signs point to the same travel route.
Also consider wind direction and your access route. A camera in a high-traffic area is less useful if reaching it repeatedly forces you through bedding cover or leaves your scent directly across the deer’s approach.
Prime Locations to Set Your Trail Cameras
Finding the best places to set up your trail cameras can make all the difference in spotting that trophy buck. Here are a few tried-and-true locations that big bucks tend to frequent:
Field Edge Hotspots
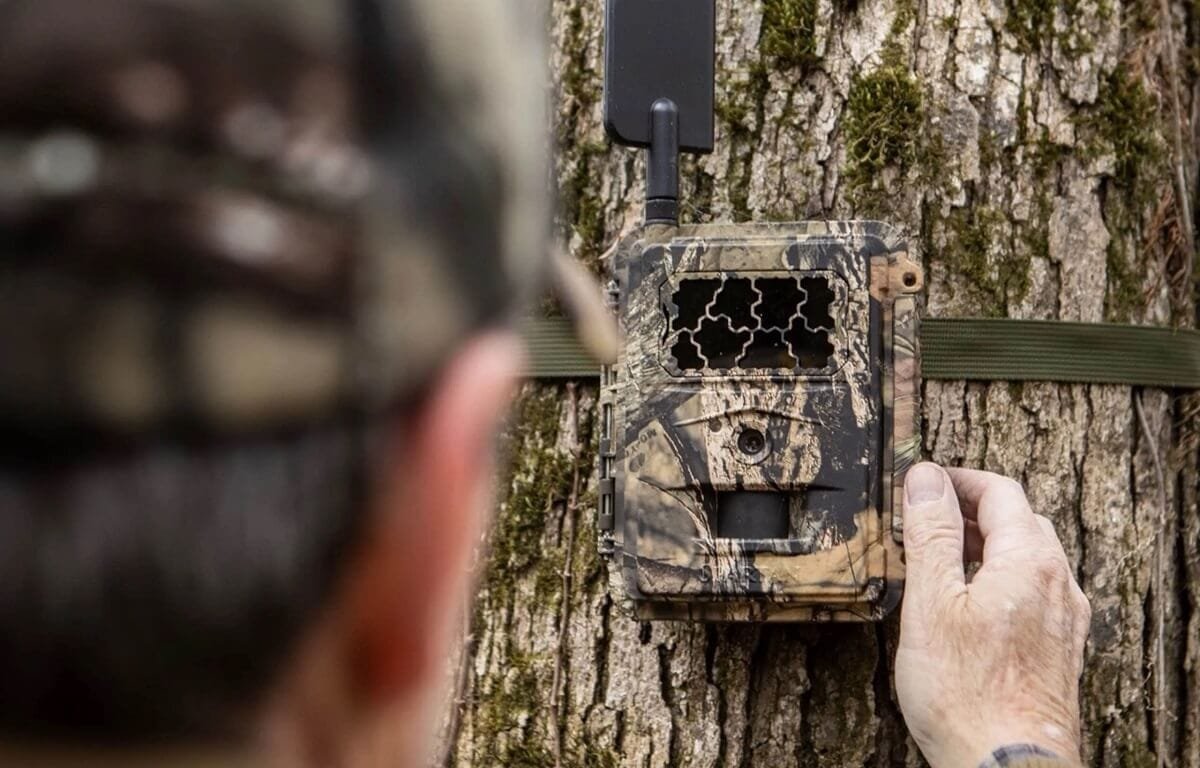
Deer are drawn to field edges where food sources are easily accessible, especially in the early morning and late evening. Placing cameras along these edges gives you a good chance to capture bucks as they leave or enter the field. Look for spots where trails intersect or where there’s heavy deer traffic—these spots increase your odds of getting consistent images.
Mineral Sites and Natural Attractions
Minerals are especially popular with deer in the late spring and summer when they’re looking to add nutrients. By setting up trail cameras around mineral sites or water sources, you can get valuable images, especially of bucks in their early antler-growing stages. Mineral sites also attract multiple deer, giving you a great way to track a variety of bucks.
7 Must-Have Spots for Capturing Big Buck Activity
Each area holds unique advantages depending on the season and deer movement. These seven spots are particularly useful for finding and monitoring big buck activity.
1. Bait Stations
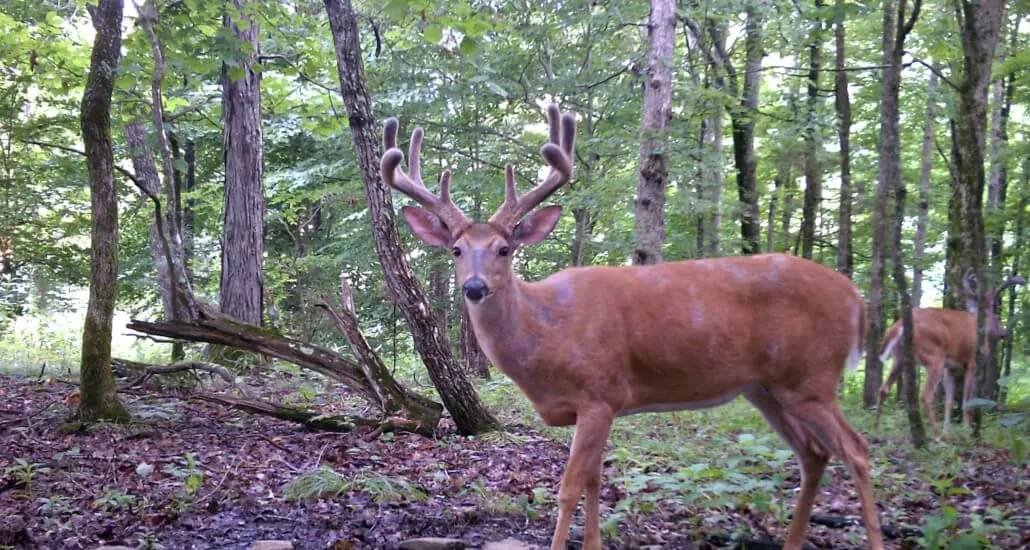
Bait stations can be highly effective if you’re in an area where baiting is legal. They work particularly well when food is scarce in late season or in highly pressured areas where deer become more nocturnal. Use natural bait sources like acorns, corn, or protein blocks, and set your camera at a slight angle to capture full body shots of any buck that stops by.
Place the camera far enough from the bait to capture the buck approaching and leaving, rather than framing only a close-up of its head and shoulders.
“Check your state wildlife agency’s current regulations before using bait, mineral sites, or deer attractants. Rules can vary by state, hunting unit, season, property type, and disease-management zone.”
2. Summer Mineral Licks
Bucks are drawn to mineral licks during the summer as they seek to bulk up and grow antlers. Setting up cameras at these locations can give you consistent action and great images of bucks at close range. Ensure your camera is pointed downward slightly to catch antlers and identify individual bucks over time.
Check the surrounding area for multiple trails entering the site, because the best camera position is often slightly off the mineral site where deer naturally approach and leave.
Before using a mineral site, verify local regulations. Some jurisdictions restrict or prohibit mineral licks and other deer attractants, particularly in areas with chronic wasting disease (CWD) concerns.
3. Entry Trails to Prime Feeding Zones
Deer travel routes between bedding and feeding zones regularly, especially during the early season. Look for trails where you can see well-used paths or tracks. Setting up cameras along these entry points can capture bucks moving in both directions, often giving you multiple opportunities throughout the day.
Look for the most heavily used trail rather than simply choosing the first visible path; tracks, disturbed vegetation, and repeated crossings can help identify the primary route.
4. Creating and Using Mock Scrapes
Mock scrapes are a powerful tool during the rut when bucks are marking territory and seeking mates. Set up a scrape using a branch about chest-high with a scent lure. Position your camera nearby to capture bucks investigating and marking the scrape. This spot is excellent for getting shots of larger bucks in the area as they respond to the mock scrape.
Before creating a mock scrape, check local hunting regulations and avoid disturbing nearby natural scrapes that deer are already using.
5. Key Rut Funnels
During the rut, bucks use natural funnels like narrow strips of woods, creek beds, and ridge lines to move quickly between areas. Find these narrow travel corridors and set up your cameras here. Bucks are more likely to pass through these areas, especially when looking for does. Placing a camera in these areas increases your chances of capturing mature bucks on the move.
Funnels are especially valuable when several terrain features force deer through the same corridor, such as a steep slope, creek, fence line, or narrow strip of cover.
6. Water Sources
A reliable water source, such as a creek, pond, or even a swamp, can be a powerful draw for deer, especially in warmer months or during dry spells. Placing your trail camera near these water sources can capture bucks quenching their thirst or simply passing through.
This is a great spot for early to mid-season photos and for capturing images when food sources shift. Ensure the camera is positioned at an angle to capture full-body shots without obstruction from foliage.
Instead of pointing directly at the water, consider positioning the camera on a nearby trail or crossing where deer naturally approach the source.
7. Transition Zones
Transition zones, or the areas between dense bedding cover and open feeding fields, are highly active deer areas. Bucks, particularly mature ones, will often pause in these transition zones before entering fields at dusk or dawn, giving you great photo opportunities.
Place your camera at the edge of these transition zones where trails enter or exit, ideally near some cover to avoid spooking the deer. This location is especially useful during early and late hunting seasons when bucks are more cautious.
Pay particular attention to the first few yards where thick cover meets open ground, especially where multiple trails converge.
How to Position a Trail Camera for Better Buck Photos
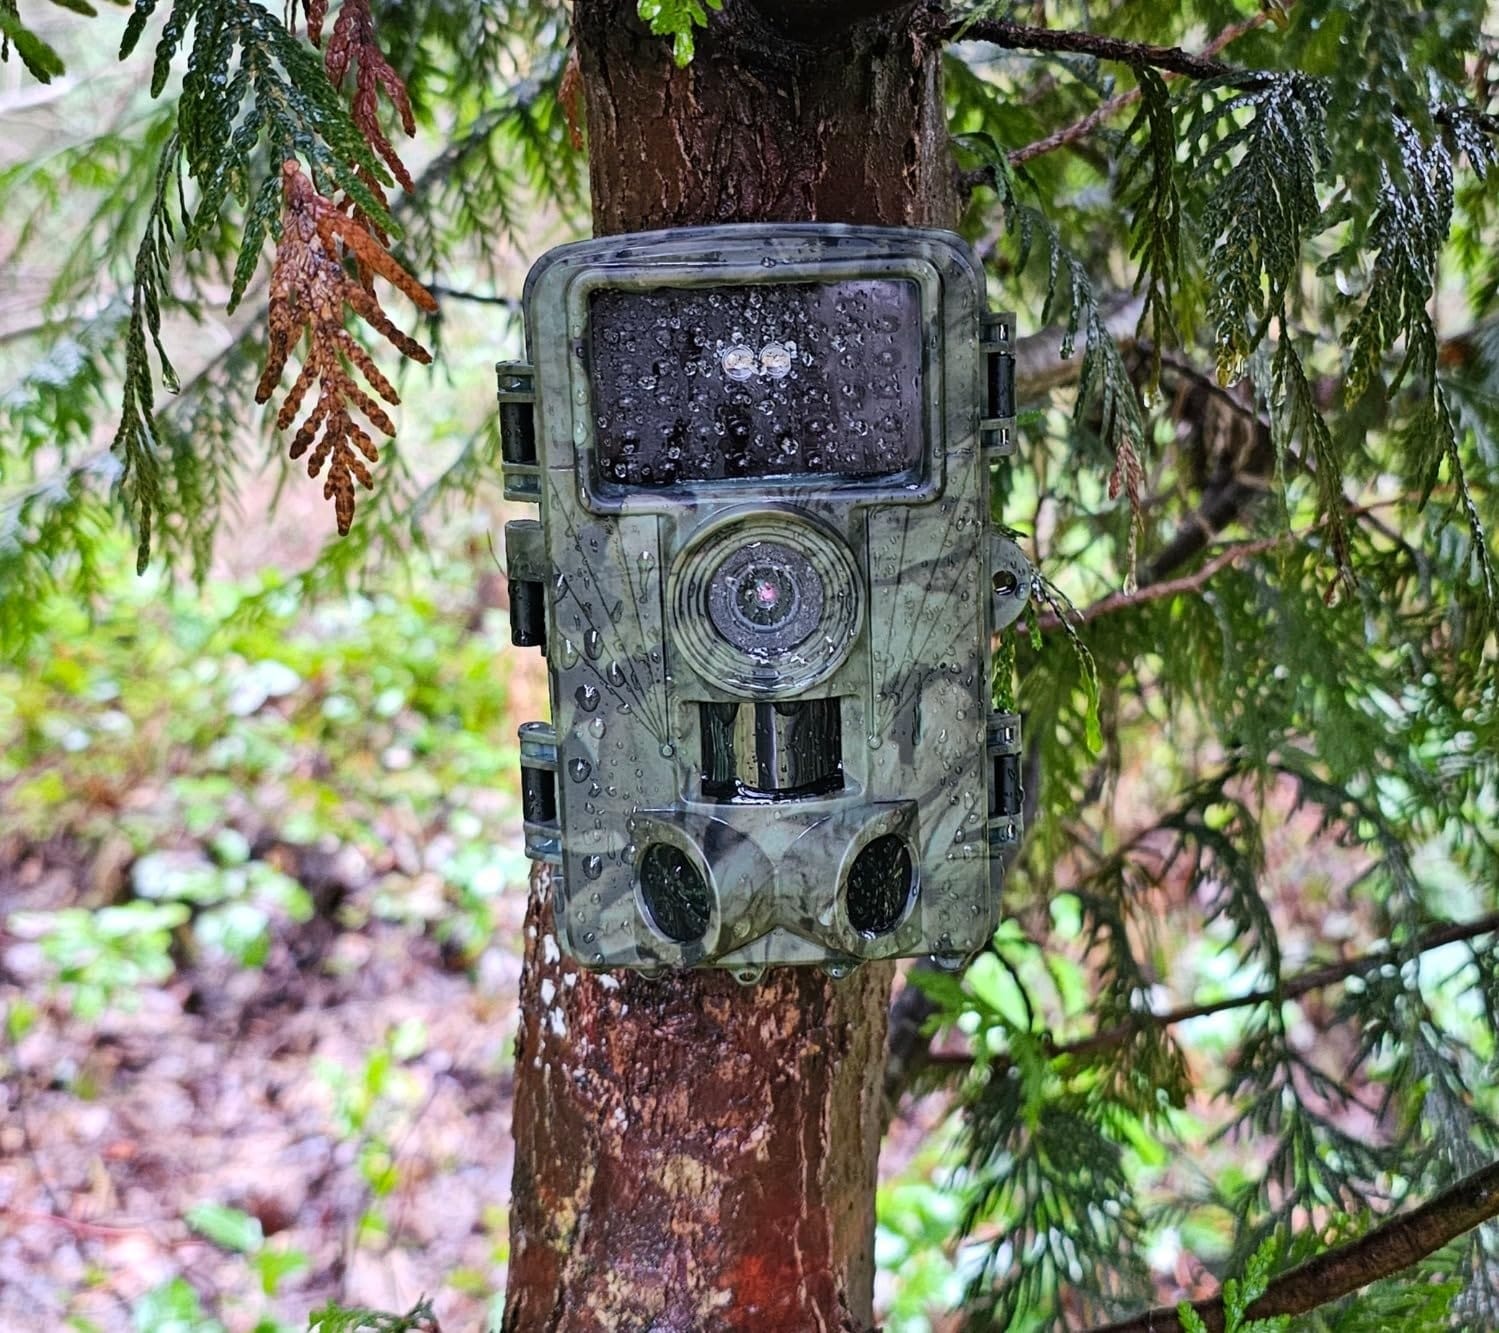
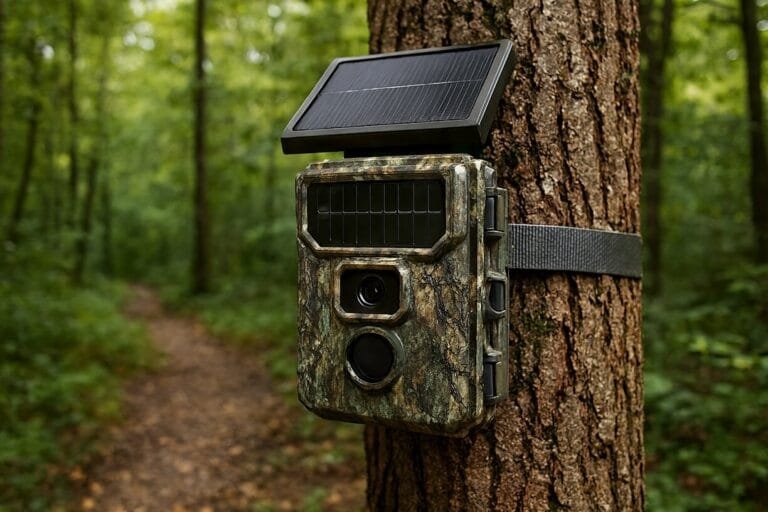
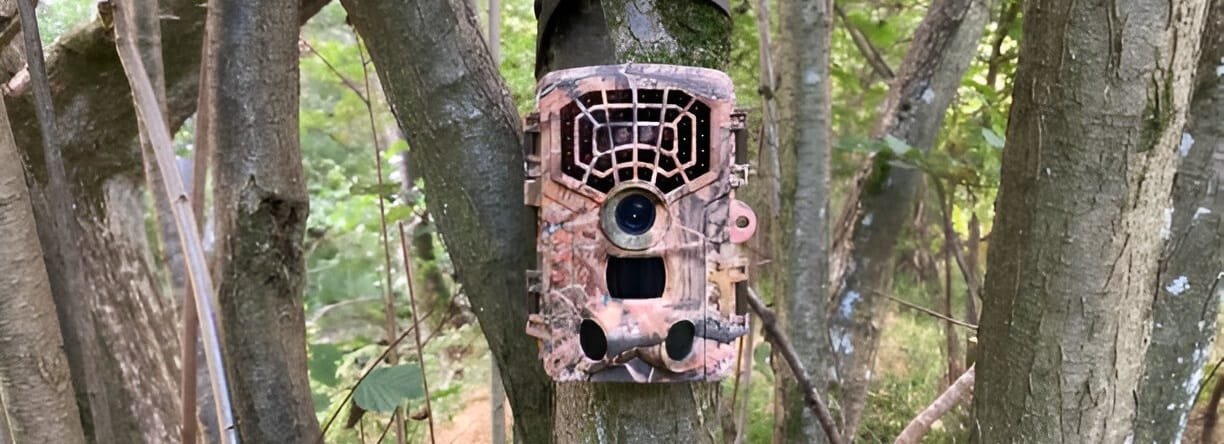
Once you’ve found the right location, camera positioning can determine whether you get useful full-body images or a collection of poorly framed shots. Aim the camera across the trail rather than directly down it when possible, and leave enough distance for the animal to enter the detection zone.
- Mounting height: Keep the camera around chest height or slightly lower depending on the terrain and expected deer position.
- Camera angle: Angle the camera slightly downward if the location slopes or if you need to control the detection zone.
- Trail angle: A side-on view often gives the camera more time to detect a moving deer.
- Background: Avoid pointing directly toward the rising or setting sun.
- Vegetation: Trim small branches or grass that could trigger false images or block the lens.
- Access: Choose a position you can reach without repeatedly walking through bedding or feeding areas.
Where to Move Your Trail Camera by Season
| Season | Best Areas to Monitor | What to Look For |
|---|---|---|
| Spring | Food sources, water, travel routes | New growth, tracks, and changing feeding patterns |
| Summer | Fields, mineral sites, water, bedding transitions | Consistent feeding patterns and developing antlers |
| Early Fall | Food sources and trails between bedding and feeding areas | Changing food availability and increased buck movement |
| Rut | Scrapes, funnels, doe concentrations, travel corridors | Fresh scrapes, rubs, and increased buck movement |
| Late Season | Remaining food sources, thermal cover, funnels | Concentrated feeding and predictable travel |
Common Mistakes and Troubleshooting
No camera placement strategy is flawless, and even experienced hunters can run into issues. Here are some common mistakes and tips on how to troubleshoot problems:
Avoiding Poor Camera Placements
One common error is placing cameras too high or too low, which can miss key parts of the deer. Position cameras at about chest height and angle them slightly downward for best results. Also, avoid locations where branches or foliage can obscure the lens and trigger false images.
Checking Cameras Too Frequently
Explain that frequent visits can disturb the area and that cellular cameras or longer intervals can reduce unnecessary intrusion.
Ignoring the Wind and Access Route
Explain that the best-looking camera location isn’t necessarily the best scouting location if reaching it repeatedly causes disturbance.
How to Adapt to Changing Deer Patterns
Deer behavior can change with the season, weather, and even hunting pressure. Don’t be afraid to move your cameras based on fresh sign, new trails, or other indications of buck movement. Keep a log of when and where you’re seeing the most activity so you can adjust as patterns evolve.
Tips for Ongoing Success: Tweaking Your Camera Strategy
Fine-tuning your camera strategy is essential as deer movement and behavior shift throughout the year. Regularly reviewing your photos helps you spot patterns in buck activity, such as specific times of day or particular weather conditions when they’re more active. By keeping up with these changes, you’ll have a clearer sense of where and when to capture big bucks. This will improve your overall success rate as the season progresses.
As you analyze the images, experiment with adjustments to camera angles, distances, and settings to enhance the quality of your shots. Sometimes even small tweaks, like repositioning for a wider view or adjusting the trigger speed, can make a big difference. This ongoing process of observation and adaptation ensures that your cameras are always set up for optimal results, no matter the season or changing conditions.
FAQs About Trail Camera Placement
How many trail cameras should you use for one hunting property?
There is no fixed number that works for every property. Start with the areas showing the strongest deer activity and add cameras as needed to cover different travel routes, food sources, and habitat types. A smaller number of strategically placed cameras can be more useful than several cameras positioned without a clear scouting purpose.
How long should you leave a trail camera in one location?
Give a camera enough time to collect meaningful activity before deciding whether the location is productive. The right interval depends on deer movement, camera type, hunting pressure, and the purpose of the setup. Avoid moving a camera simply because you haven’t captured a mature buck after a few days.
What should you do if a trail camera gets mostly nighttime deer photos?
Nighttime activity does not automatically mean your camera is in the wrong location. Mature bucks may become more nocturnal because of hunting pressure, weather, or seasonal changes. Compare nighttime photos with fresh sign and other cameras in the area before relocating the setup.
Should you use a cellular trail camera when scouting big bucks?
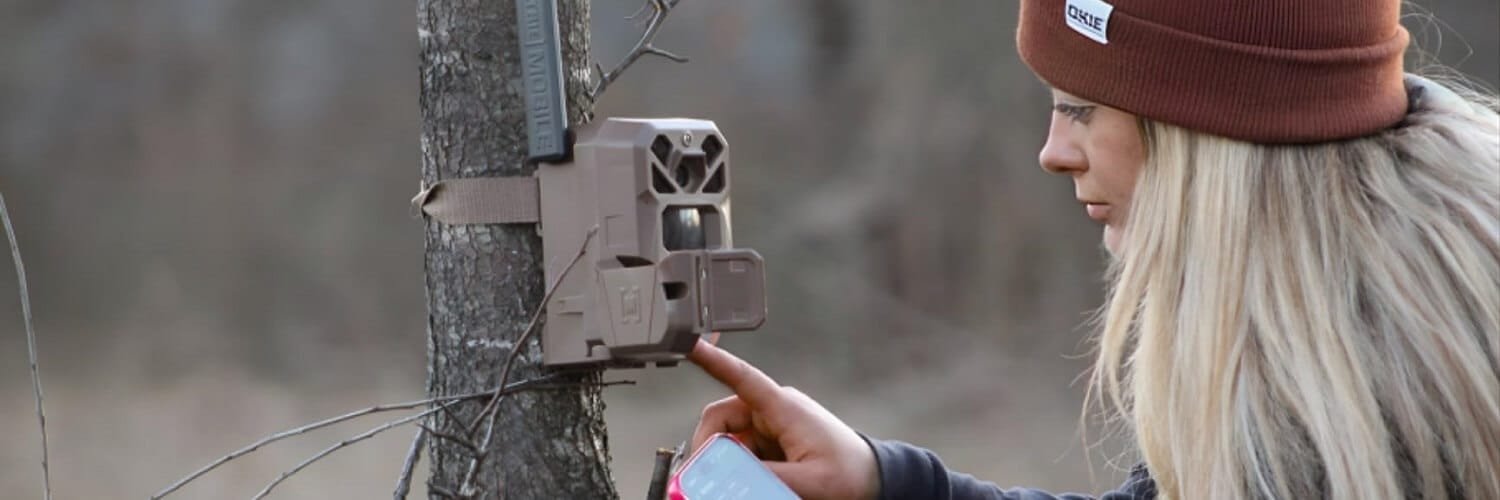
A cellular camera can be useful when you want to monitor activity without repeatedly walking into the area. It can reduce the need for physical checks and provide faster information about changing deer movement. However, a cellular camera still needs to be positioned carefully and does not replace reading fresh sign in the field.
How can you tell if a trail camera location is worth keeping?
Look beyond the number of photos. A productive location should provide useful information about deer movement, including repeated appearances, consistent travel directions, identifiable bucks, or changes in activity over time. If the camera produces little useful information and there is also limited fresh sign, consider testing a different location.
Can trail cameras spook mature bucks?
They can, particularly when cameras are placed in sensitive areas or checked too frequently. Minimize disturbance by choosing a low-impact access route, considering wind direction, and limiting unnecessary visits. Cellular cameras can also help reduce the number of times you need to enter the area.
Conclusion
Using trail cameras to scout for big bucks can dramatically improve your hunting success, but knowing where to place them is key. By understanding deer behavior and choosing optimal locations like field edges, bait stations, and rut funnels, you’ll capture images of bucks as they move through your area. Remember that fine-tuning your setup over time can make a significant difference in the images you gather. With these strategies, your trail cameras will be in the right places to help you spot, track, and ultimately hunt the big buck of your dreams.
Happy hunting, and may your trail cameras reveal the best of what’s in the woods!