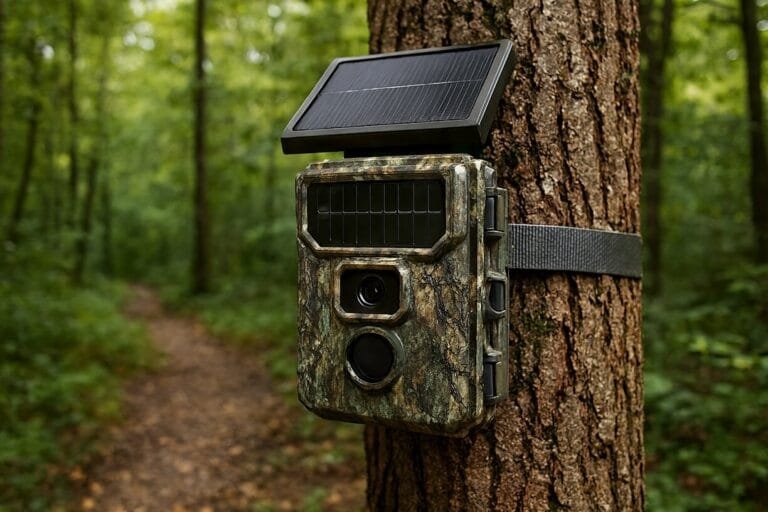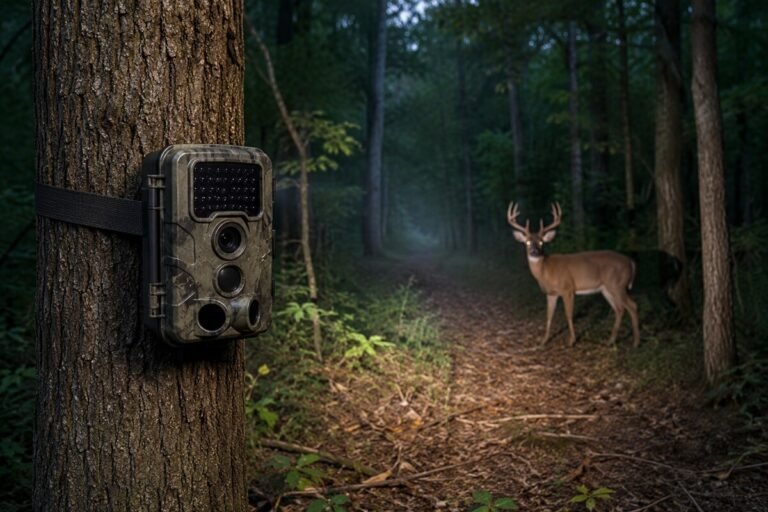
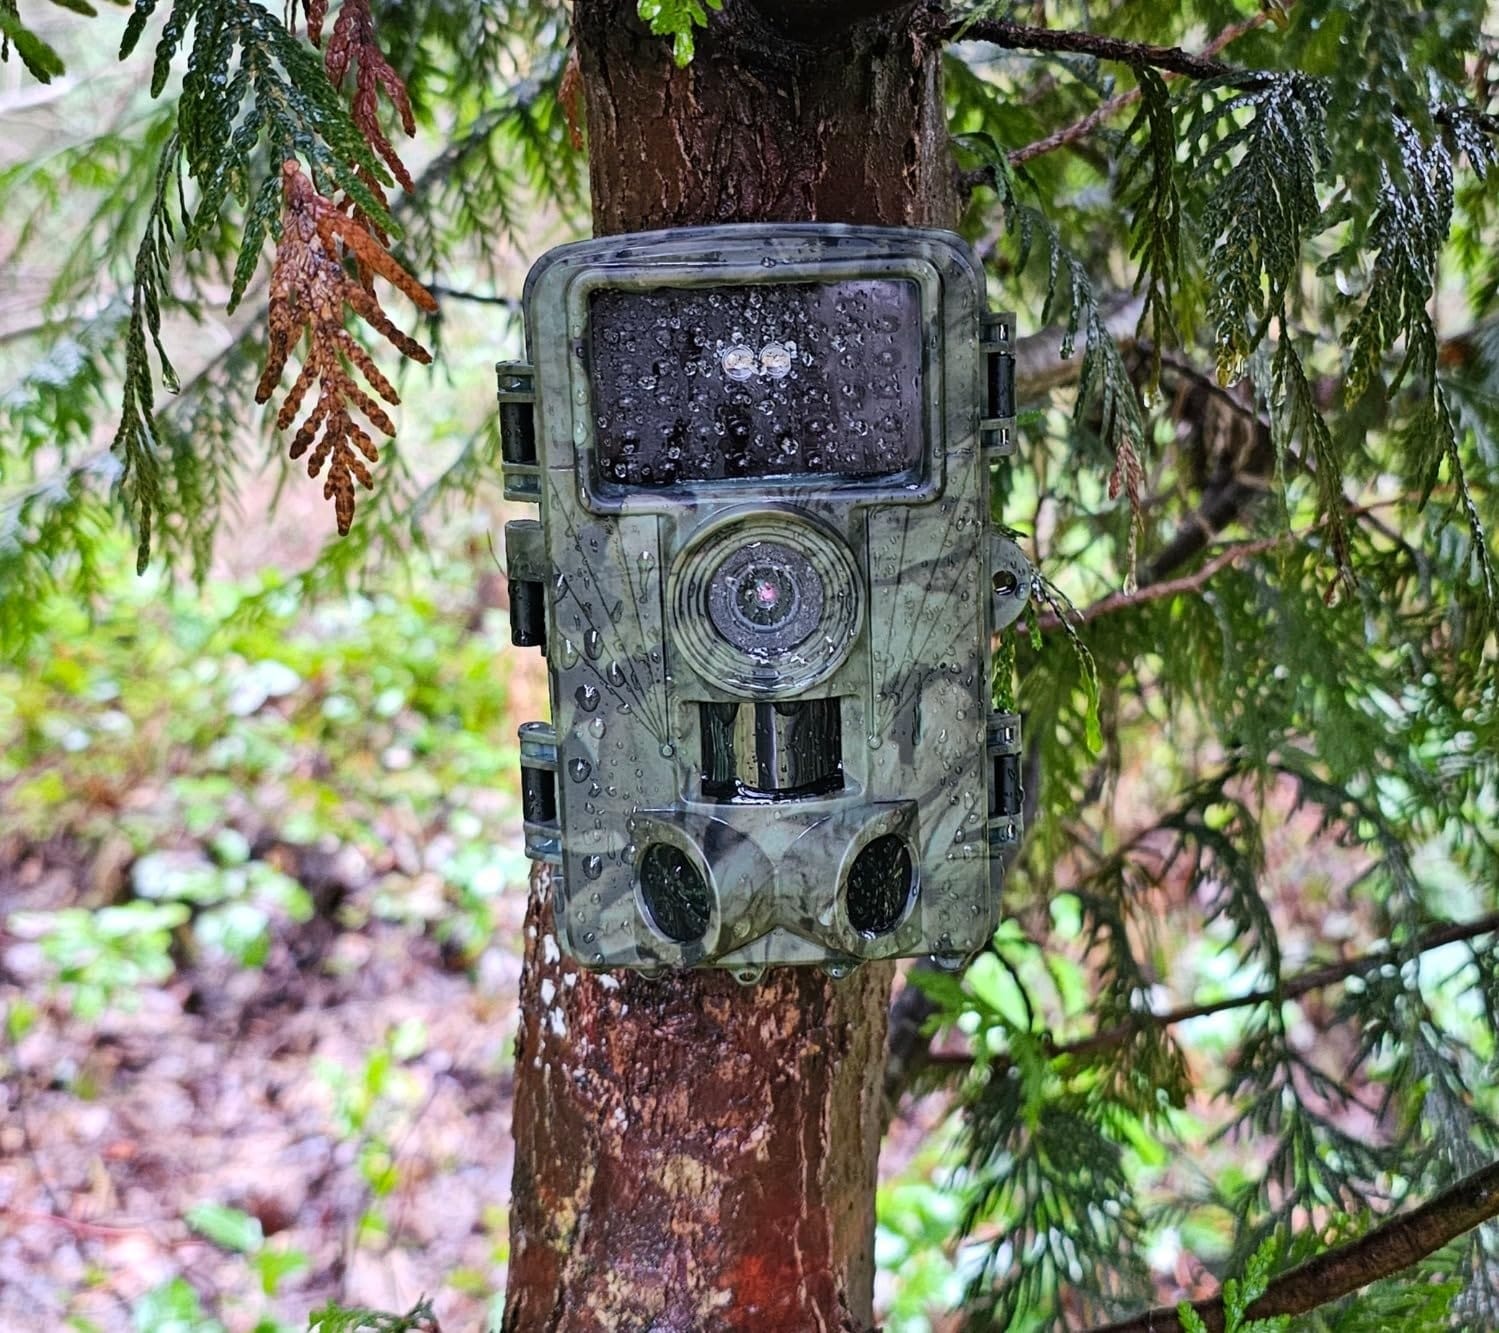
How to Hide a Trail Camera from Humans: 10 Proven Tips to Prevent Theft

The wilderness calls, a whispering invitation to witness its untamed beauty. To answer, you set up your silent sentinel: the trail camera. Yet, amidst the natural world, another presence lingers – that of humanity. To capture the secrets of wildlife without disturbing the scene, you must master the art of invisibility, turning your camera into a phantom observer.
In this guide, we’ll unlock the art of camouflage, teaching you how to conceal your trail camera so it blends seamlessly into its environment. From strategic positioning to clever distractions, you’ll learn how to make your camera a nearly invisible witness, capturing the raw beauty of nature without leaving a trace.
A Guide to Concealing Your Trail Cameras
In our experience, trail cameras mounted at traditional eye level are discovered much faster than cameras placed higher in branch forks or angled downward from elevated: positions. Ready to embark on this clandestine mission? Turn the page and let the game of hide-and-seek begin!
1. Secured with a cable lock
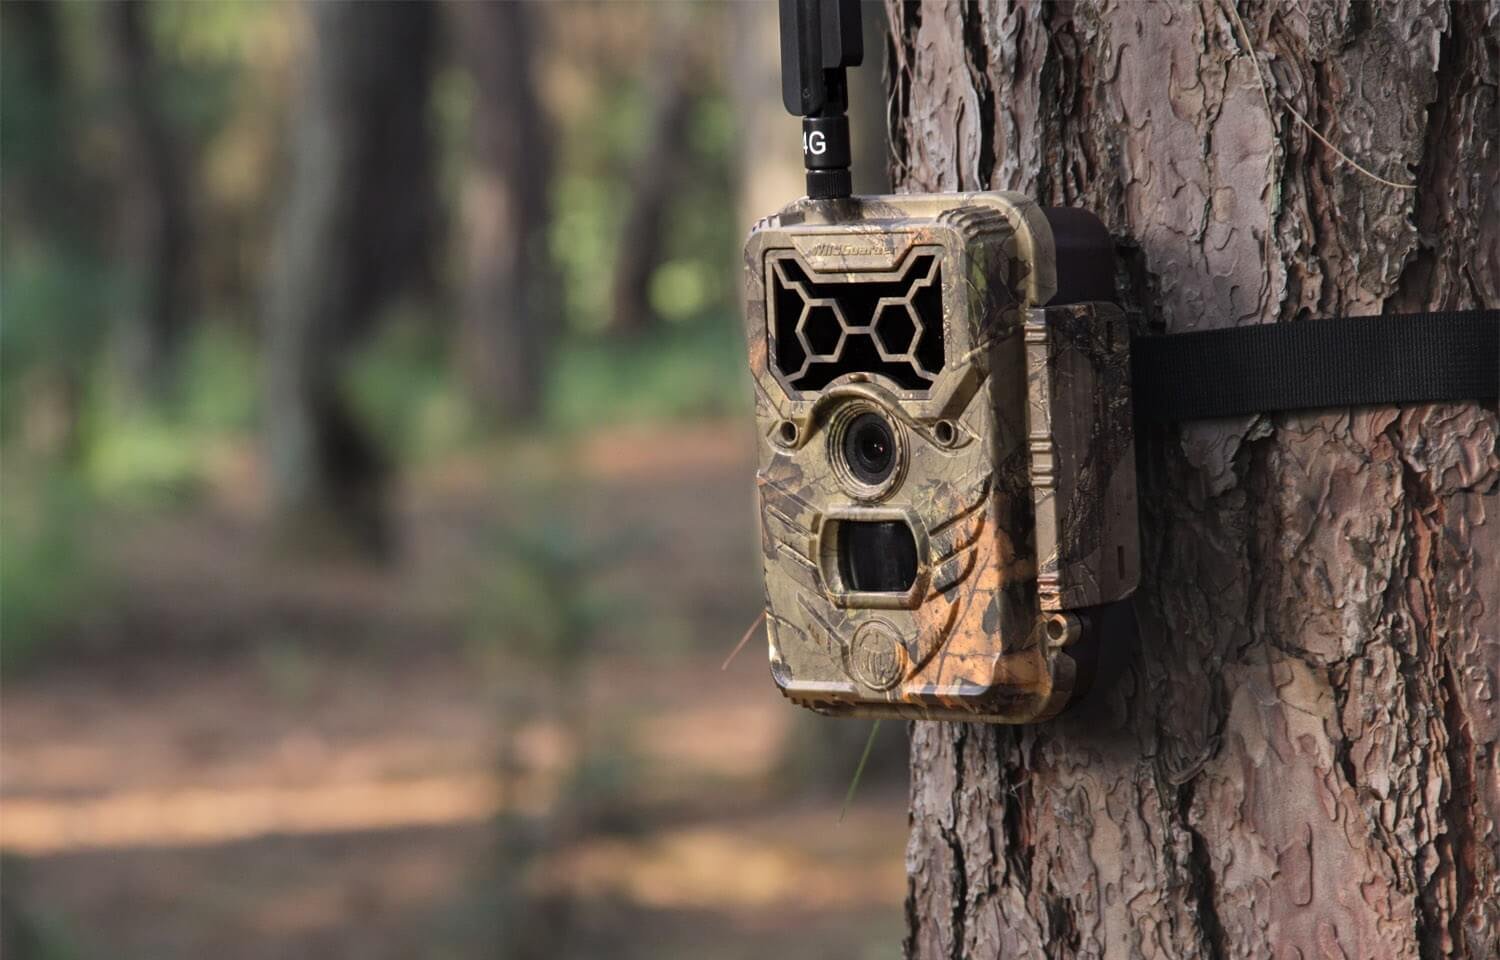
Cable locks like Python are generally used to secure wildlife cameras. The great advantage of the lock is the individually adjustable length. Between 30 and 180 cm, the Python cable lock can be clicked into place at any point, similar to a cable tie. This means you can secure multiple trail cameras to a single tree using just one cable lock. Another advantage is the eyelets found on the back of the housing in most well-known hunting cameras. They can be used with a maximum cable diameter.
Trail cameras can be effectively secured against theft using Python cable locks, especially in forested areas. These locks provide a strong deterrent, as would-be thieves often act on impulse and generally don’t have the necessary tools to break through such security. However, it provides only limited protection against vandalism. A metal housing is the best solution here.
2. Secured by a metal housing
For the most common trail cameras, you can find custom-made steel housings in camouflage patterns on Amazon and other online retailers. This is a smart investment for higher-end models. While it does not fully protect the camera from vandalism, metal housing does make it significantly harder to steal. Even if the camera is tampered with, the SD card containing valuable images—potentially even of the culprit—can often be saved.
The steel housing is secured with a sturdy padlock, either at the bottom or on the side. For extra stealth, consider painting the padlock matte black or green with spray paint. Most padlocks are brass-colored, which can stand out in the natural environment and attract unwanted attention.
If your trail camera is protected by a cable lock or metal housing and is still stolen, it would classify as a particularly serious case of theft.
3. Activate PIN query
With almost all trail cameras known to us, you can enter a freely selectable four-digit security code, similar to a PIN, via the menu. This means that as soon as the thief wants to enter the setup menu of the device, he must first enter the PIN, which makes him puzzle to this wrong practice.
Disadvantage: Even as the rightful owner, you’ll need to enter a PIN before accessing the camera’s menu. The navigation keys on most trail cameras tend to be slower and less intuitive compared to the ones on your smartphone, which can make this process feel tedious. Furthermore, PIN protection adds a layer of security, but doesn’t prevent the physical theft of the camera.
4. Marking of the trail camera
Some trail camera manufacturers, like Bushnell, let you assign a custom name that appears on every photo or video clip. While a thief can override this setting unless the device is PIN-protected, not every missing trail camera is taken by a malicious thief. Sometimes it’s simply misplaced or borrowed without ill intent.
- Engrave Your Telephone Number: Engraving your phone number on the camera is a simple yet effective way to identify it. This can help in situations where there’s confusion, such as when a hunting tenant assumes they are the only one allowed to hang cameras in a shared hunting area. Your contact details make it easier for others to return the camera if it was taken mistakenly.
- UV Markers: Because trail cameras are common, identifying a stolen camera can be difficult. Using a UV marker, which is invisible to the naked eye but visible under UV light, offers a discreet way to mark your camera. This method helps you prove ownership if the camera is found or recovered later.
5. Use cellular trail cameras
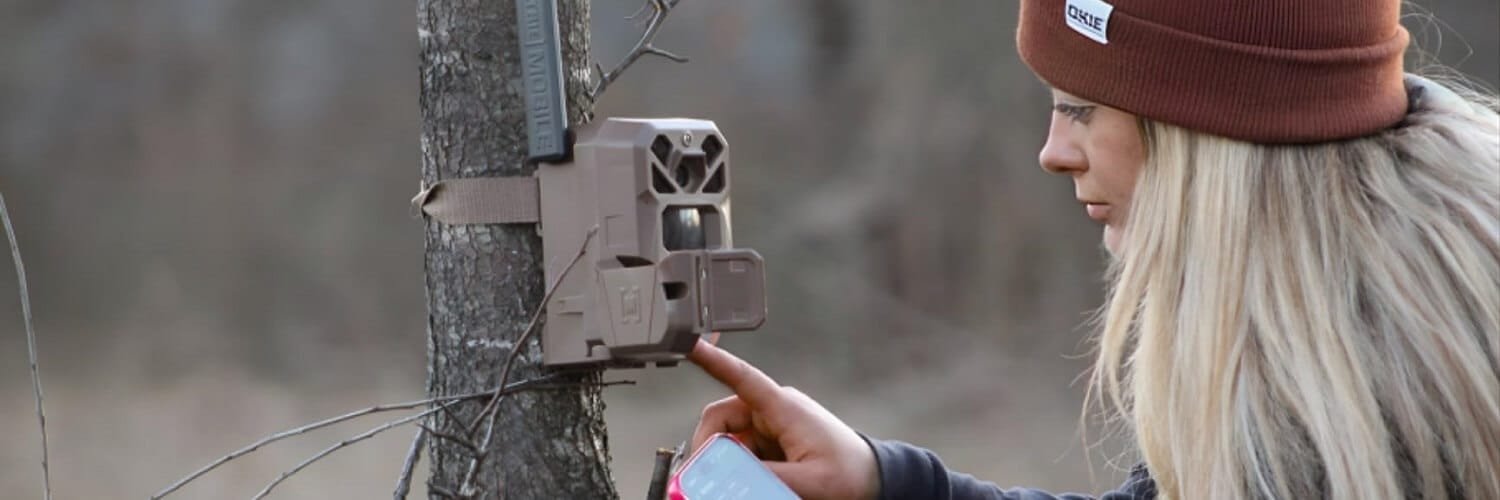
An MMS or GPRS trail camera has built-in security. If you’re planning to leave a camera in the field for months at a time, pairing remote monitoring features with one of the best solar trail cameras can significantly reduce maintenance visits and battery changes.
The moment a vandal spots the camera, their photo is already sent to the owner’s inbox. If you’re using the camera to protect property, you can even alert the police remotely, whether the location is nearby or hundreds of kilometers away. This feature is useful for monitoring a holiday home abroad.
However, reliable MMS/GPRS cameras come with a higher price tag, often costing upwards of $300. If such a camera is stolen, it’s a significant loss. That said, if you don’t need the immediate image transmission feature, you could buy two regular trail cameras for the same price and use them to secure each other, offering a more affordable and flexible alternative.
- We have reviewed some of the best trail camera under $200 with reliable MMS/GPRS features.
6. Mutual Security
Using two or more trail cameras simultaneously offers several advantages:
- One takes care of the other: The monitored area is at best twice as large with two cameras operated in parallel. Because you can secure one with other. If the camera is discovered and stolen, there is a high probability that the second camera will be tracked and that photos of the thief will be available.
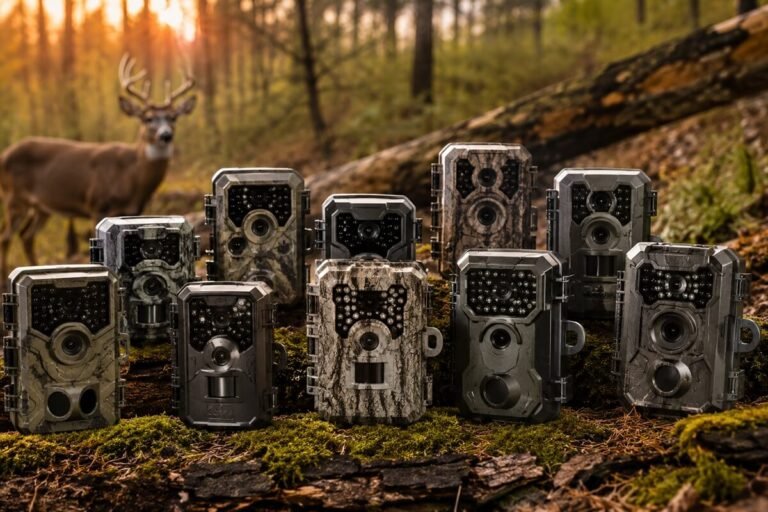
- Different types of game cameras: We know from daily practice that every hunting camera has strengths and weaknesses. One is invisible at night, but the other takes perfect night shots. A third one is super small or super durable. If you use several trail cameras, you can combine the respective strengths of the various models.
7. Safe game camera positioning

In the wild, you don’t necessarily have to expect the camera to be discovered and then stolen. Here you can position the photo trap where the best shots can be expected and you don’t have to worry about camouflage or security. With property protection, there is a fundamental risk that a villain will discover the camera and then have to steal the unpleasant evidence. Therefore, you should give particular thought to the positioning of the trail camera.
- Avoid eye level: If you do not want to capture animals, but people unnoticed, you should avoid mounting the photo trap at eye level. It is better to position it near the ground, or even better to use a bird’s eye view. In this case, it is essential to take test photos to ensure that you can recognize the face of a person who has been recorded. If the trail camera is to be used as a surveillance camera, avoid positioning it at eye level if possible: you can place the camera on the post at the bottom left next to the pergola.
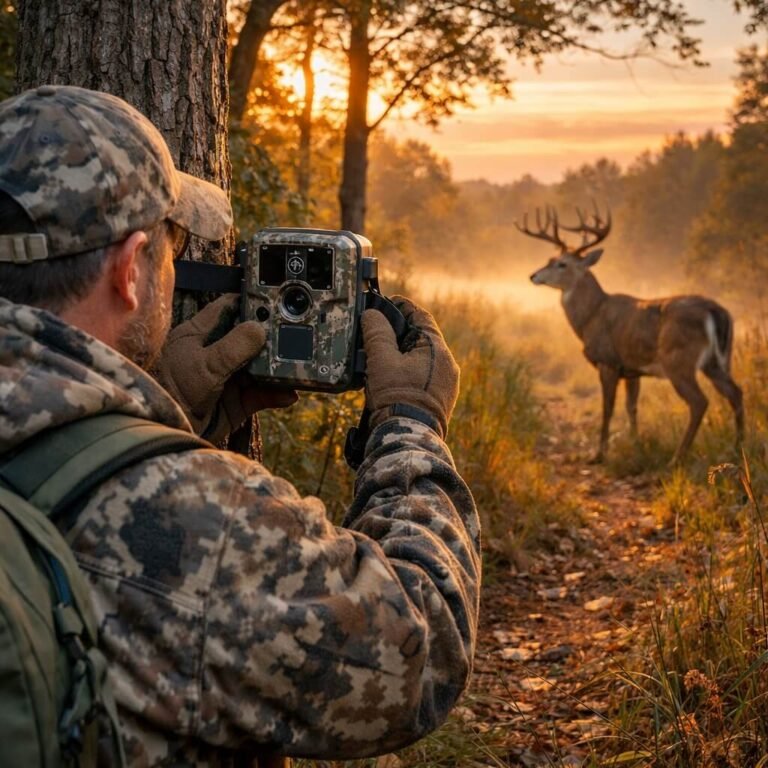
- Looking for unexpected positions: Traditionally, trail cameras are attached to the trunk of a tree at a height of about 1.50 m. Anyone looking for a trail camera will look for it right here. Therefore, branch forks or strong side branches are much better suited to position a game camera. Branch forks also have the advantage that the game camera cannot be seen from the side.
Choosing the right mounting hardware is just as important as selecting the location. Using one of the best trail camera mounts can help you achieve better viewing angles while keeping the camera stable and concealed.
8. Avoid heavily trafficked areas
Humans tend to take the path of least resistance, and you can use this to your advantage when hiding a trail camera. Wild animals share this tendency and often follow the same routes. Locations like puddles and streams are great spots for positioning a camera, but they can also attract people, so be sure to evaluate them carefully.
9. Use a camera without glare and flash
To minimize both theft and harm to wildlife, it’s best to avoid devices with flash or visible LEDs. Modern trail cameras with night vision can capture clear images in low-light conditions while remaining far less noticeable to both wildlife and potential thieves.
Remember, we are guests in the woods and must respect the true masters: wild animals and nature. Consider this: if you were engaging in an illegal act and spotted a camera flashing or with visible lights, how likely would you be to leave it behind? Most would likely steal or destroy it. Low-light or red camera indicators can reveal your camera’s location, making them a significant drawback.
10. Reduce Human Scent Around the Camera
Many wildlife enthusiasts focus on hiding the camera from people but forget that animals can detect human presence long before they see the device. When installing or checking a trail camera, avoid leaving excessive scent around the area.
Wear proper gloves when handling the camera, minimize disturbance to vegetation, and avoid making frequent visits to retrieve images. The less human activity around the camera site, the more natural animal behavior you are likely to capture.
Field Tip: If possible, check your camera during midday when many game species are less active. This reduces the chance of disturbing animals that regularly visit the area during dawn and dusk.
Trail Camera Security Methods Compared
The table below compares the most effective ways to conceal and protect your camera based on cost, difficulty, and theft prevention.
| Method | Theft Protection | Stealth Level | Cost | Difficulty |
|---|---|---|---|---|
| Cable Lock | Good | Medium | Low | Easy |
| Metal Housing | Excellent | Medium | Medium | Easy |
| PIN Protection | Low | High | Free | Easy |
| Cellular Trail Camera | High | High | High | Medium |
| Multiple Cameras | Excellent | High | Medium | Medium |
| Camouflage Techniques | Medium | Excellent | Low | Easy |
| Elevated Placement | High | Excellent | Free | Medium |
| Scent Reduction | Low | High | Free | Easy |
Sources & References
- National Deer Association (NDA)
- National Deer Association Deer Resources & Education
- U.S. Fish & Wildlife Service Wildlife Management Resources
- National Park Service Wildlife Information
Frequently Asked Questions
How to set up your camera trap properly?
To set up your camera trap effectively, follow these key tips:
Install the camera facing north or south to prevent overexposed shots, positioning it about 1.5 to 2 meters high and angled slightly downward. Secure it to a sturdy tree that won’t sway in the wind to avoid false triggers. When monitoring a water source, place the camera in the direction of the flow to capture passing animals; positioning it perpendicular may result in missed shots. Lastly, ensure no grasses or branches that could obstruct the view, and double-check that the batteries are fully charged and the memory card is correctly inserted.
How to disguise a trail camera?
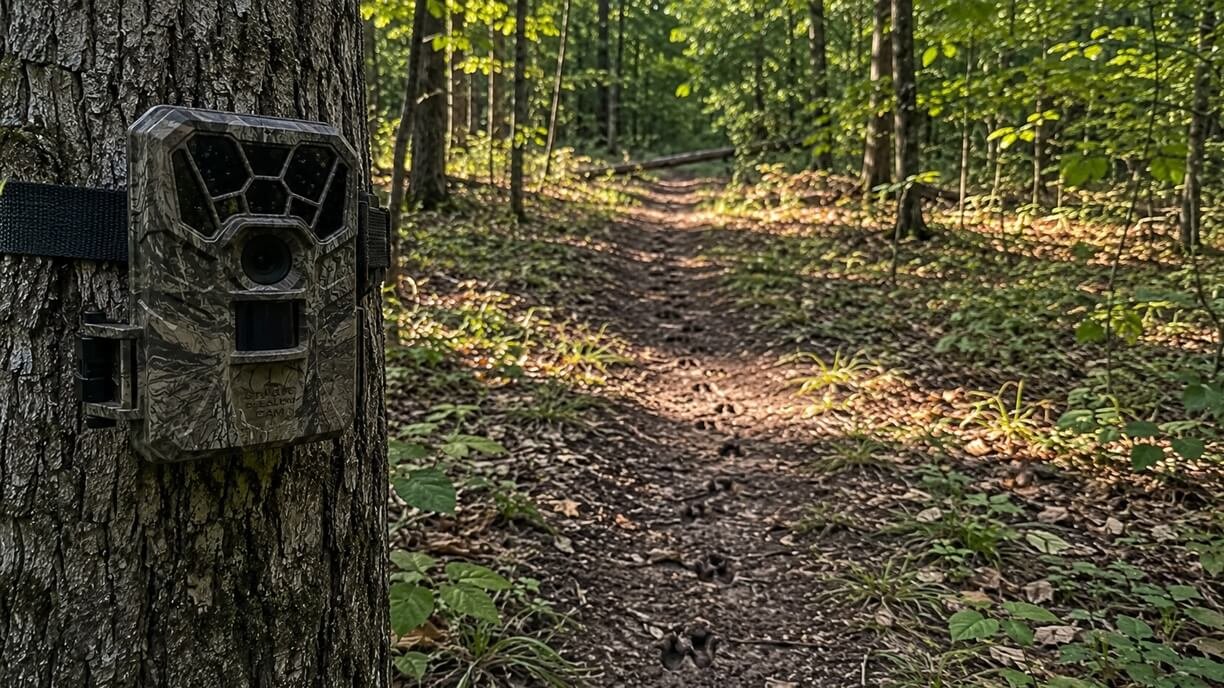
Most trail cameras come in camouflage colors to blend into their environment. You can enhance this camouflage with foliage or materials found in the woods to minimize sunlight reflections, but avoid blocking the camera lens or detection sensor.
The field of view and detection zone are triangular areas extending from the camera. Even slight obstructions can cause blurry images or empty frames. To avoid triggering the camera unnecessarily, keep camouflage materials and any branches or leaves clear of these critical zones. Also, remember that natural camouflage can fade quickly; green leaves will turn brown after being removed from their source.
How Can You Create a Natural Box for Your Trail Camera?
One effective way to conceal your trail camera is using an old, decaying tree stump as a natural box. While this method requires some effort, it can provide a nearly invisible position for your camera. Alternatively, you can place the camera inside an artificial bird nest, which serves as an excellent disguise. Most people will either overlook it or assume it contains a nesting bird, making it an ideal hiding spot for your device.
Where is the best place to install a hunting camera?
To effectively set up your trail camera, first determine whether you want to capture photos or videos. It’s crucial to choose the right location for your camera to successfully photograph animals. In a forest environment, consider these ideal spots:
- Mud Pits: Animals often roll in mud to cool off and remove parasites. These areas attract species like deer and wild boar, making them excellent for capturing footage.
- Ponds: Water sources are popular among all forest-dwelling species for drinking and cooling off. Setting up near a pond will likely yield a high volume of animal activity.
- Forest Roads: These paths, used by both humans and animals, can provide unexpected sightings. Placing your camera here can lead to exciting discoveries.
- Feeders: Areas where humans regularly feed wildlife are frequented by animals. This ensures consistent visits throughout the day and night.
Patience is key when trying to find the perfect spot. It’s common to set up a camera in a seemingly strategic location without immediate results, which can be frustrating. Ideally, leave your camera in place for an extended period instead of checking it daily to increase your chances of capturing wildlife activity.
“Hunters targeting mature whitetails should pay special attention to travel corridors, bedding transitions, and feeding areas. Follow our guide to perfect trail camera placements for big buck success covers these high-percentage locations in greater detail.”
Testing & Research Methodology
This guide was created using manufacturer documentation, field observations, wildlife monitoring best practices, and trail camera security recommendations from experienced hunters and outdoor enthusiasts.
| Pros | Cons |
|---|---|
| Better wildlife monitoring | More setup time |
| Reduced theft risk | Some methods cost extra |
| Improved image quality | Requires periodic adjustments |
Conclusion
Hiding a trail camera effectively requires you to think like both animals and potential intruders. Explore your property to identify animal trails while avoiding areas frequented by humans, and conceal the camera as much as possible. Remember, successful concealment is an ongoing process; adjust your setup to fit seasonal changes and shifts in animal activity.
When positioning the camera, avoid aiming it at sunny surfaces to prevent glare in your images. Pointing the camera away from the south helps mitigate this issue. Also, ensure no shrubs, branches, or foliage obstruct the lens, as these can trigger false alarms. With a bit of care and attention, you can outsmart any would-be threats.
Thank you for reading, and happy camera trapping!