How to Pattern Deer Before the Season Starts
Learning how to pattern deer before the season opens is one of the most effective ways to boost your success rate in the woods. Whether you’re chasing early-season bucks or simply trying to maximize your time in the stand, having a detailed understanding of deer movement, feeding patterns, and bedding habits gives you an actual edge.
Hunters who take the time to study deer behavior before opening day often find themselves filling tags while others are still guessing. From trail camera setups and food source tracking to weather pattern observations and scouting techniques — this guide covers everything you need to pattern deer like a pro.
Why Patterning Deer Early Matters?
Before you ever climb into a tree stand or ground blind, the decisions you make can heavily influence your outcome. Deer don’t move randomly. They follow routines — influenced by food, bedding areas, water sources, pressure, wind direction, and even temperature.
Key reasons to pattern deer preseason:
- Bucks are more predictable in summer patterns.
- Less pressure = more natural movement.
- You’ll identify travel routes, funnels, and staging areas.
- You’ll know which stand or blind location to hunt based on wind.
1. Start With Maps and Satellite Imaging
Before lacing up your boots, begin scouting from the couch. Use topographic maps and satellite imagery (Google Earth, onX Hunt, HuntStand, Spartan Forge) to identify terrain features and habitat transitions:
- Bedding areas (thick cover, ridges, swamps)
- Food sources (ag fields, acorns, food plots)
- Water access (creeks, ponds, natural springs)
- Funnels and pinch points
- Entry/exit routes
2. Put Boots on the Ground: Early Season Scouting
Once you’ve marked potential hotspots digitally, it’s time to ground-truth your findings. Early to mid-summer is ideal. Bucks are on a food-to-bed routine, and you can observe without bumping them too hard.
Things to look for while scouting:
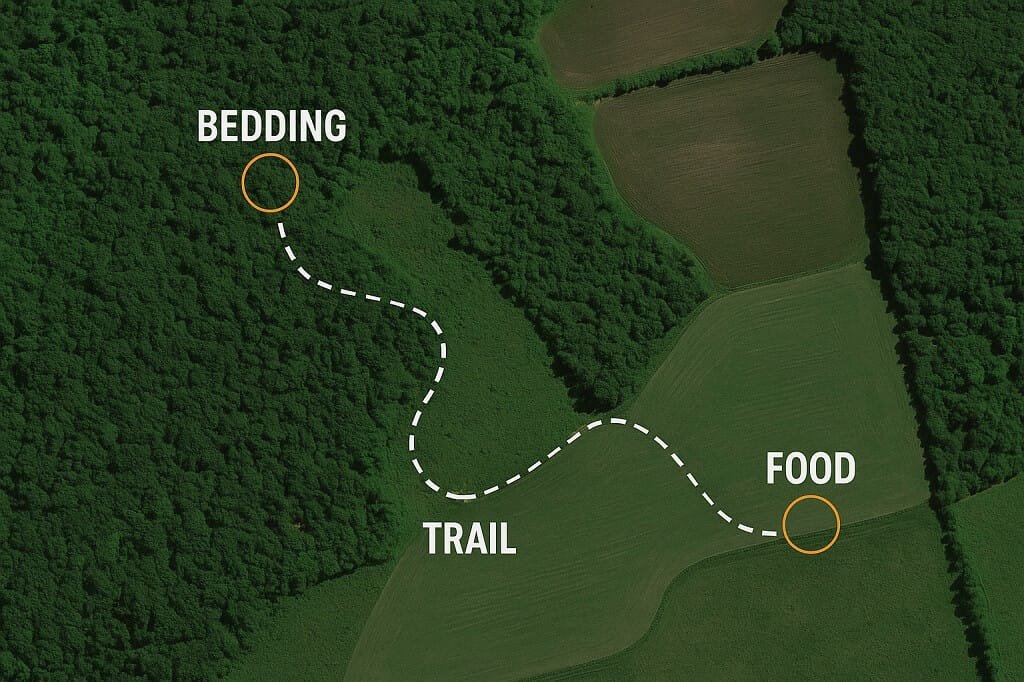
- Trails connecting food and bedding
- Tracks and droppings
- Summer feeding sign (chewed beans, browsed branches)
- Fresh rubs from previous year (which show historical travel)
- Bedding areas on leeward ridges or thickets
Focus on locating transition zones where trails meet field edges or internal corners of food plots.
3. Deploy Trail Cameras With a Purpose
Trail cameras are one of your most powerful tools — when used correctly. Instead of randomly hanging cameras, place them where deer are most likely to move in daylight:
- Trail intersections
- Field edges
- Scrapes (mock scrapes work well in summer too)
- Staging areas just inside cover
Tips for effective camera use:
- Set up in mineral sites or mock scrapes to hold their interest.
- Angle cameras north when possible to avoid sun glare.
- Use cellular trail cameras to minimize pressure.
- Check cameras midday, sparingly, or not at all until the season starts.
4. Identify Food Sources and Monitor Crop Rotations
Deer in late summer are highly food-focused. Bucks are usually still grouped up, hitting reliable feeding areas in the evenings before returning to their beds at dawn. Focus on these common sources:
- Soybeans
- Alfalfa
- Clover fields
- Hard mast (acorns — especially white oak)
- Soft mast (apples, persimmons)
If you’re hunting public land, natural food like browse or white oaks can be gold. On private, coordinate with landowners or farmers to learn what’s planted and where. By September, bucks shift off beans toward acorns. Stay alert for changes and be flexible in how you adjust your camera and stand setups.
5. Monitor Bedding Areas With Caution
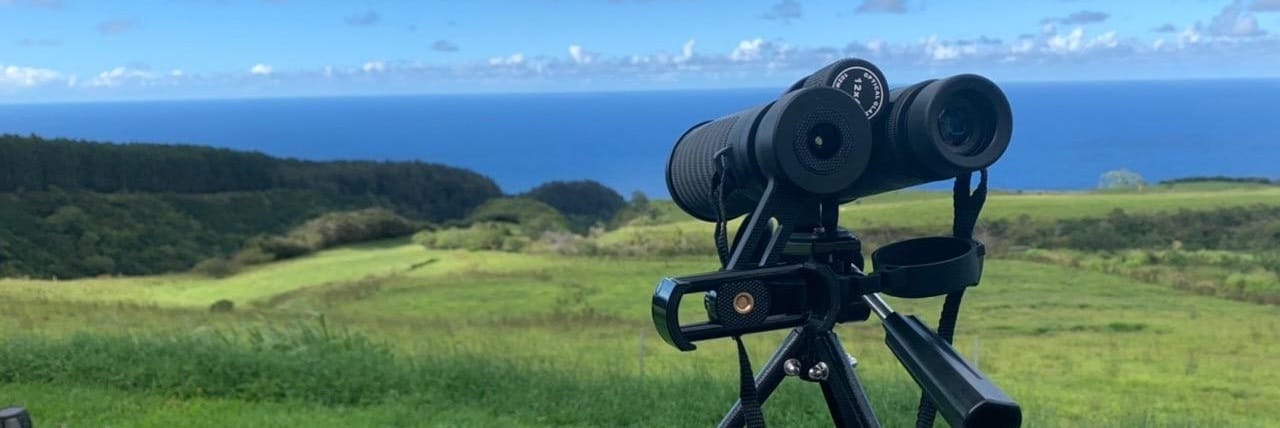
Mature bucks bed in specific spots for survival: leeward ridges, swampy thickets, CRP fields, and points with good wind coverage. Although it’s risky to enter these areas too often, observing from afar with a spotting scope or glassing setup can provide valuable intel. If you do scout close:
- Wear rubber boots and scent control gear
- Scout mid-day when deer are least active
- Leave minimal ground scent
- Avoid over-scouting; once you know the spot, back out
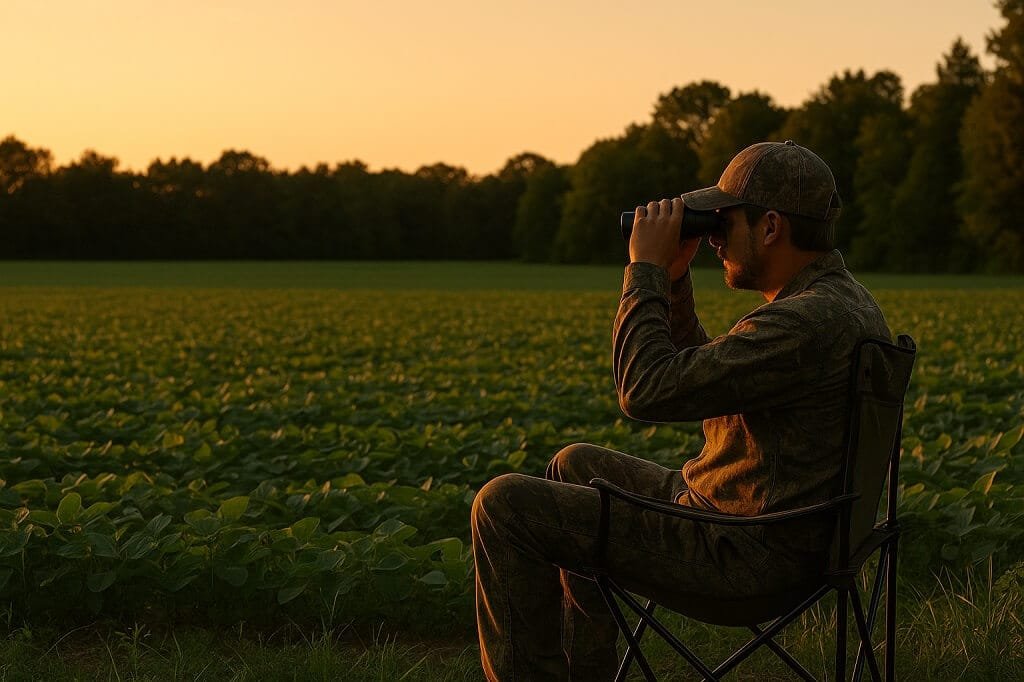
6. Use Observation Sits for Real-Time Learning
One of the most underrated methods for patterning deer preseason is simply watching them. Bring a chair or climb into a low-impact stand near food sources. Sit downwind and quietly observe with binos during late evening or early morning.
Take notes on:
- Where deer enter and exit
- Wind direction and movement patterns
- Social hierarchy among bucks
- Where they stage before stepping into the open
You’ll often learn more from a single observation sit than a month of trail cam photos.
7. Understand Wind and Thermals Now — Not Later
If you want consistent success, don’t leave wind and thermals as a last-minute concern.
- Morning thermals usually rise as the sun heats the ground.
- Evening thermals fall as the air cools.
- Wind direction and speed affect how scent disperses.
Use this knowledge to:
- Pick stand/blind locations based on prevailing winds
- Know when to avoid an area altogether
- Plan access routes that won’t blow up bedding or trails
8. Chart Patterns and Track Movement Over Time
Once you’ve gathered camera data, glassing intel, and field observations — begin tracking the movement. Use a journal, spreadsheet, or a hunting app like DeerLab, HuntStand, or Spartan Forge to organize what you see.
Chart data such as:
- Date/time of sightings or photos
- Wind direction and speed
- Temperature
- Moon phase
- Entry/exit trail
- Behavior (feeding, cruising, staging)
You’ll begin to see patterns emerge. For example, a buck may only use a certain trail on southerly winds or may feed in beans until mid-September before switching to acorns.
9. Set Stands or Blinds Early and Stay Out
After patterning is complete, quietly set your stands or blinds a few weeks before the season.
- Clear shooting lanes
- Mark trails with scent-free tape if needed
- Use climbing sticks, saddles, or hang-ons based on tree availability
10. Stay Adaptive: Patterns Will Change
As the season shifts into October and the rut approaches, bucks will begin to alter their patterns. Some will vanish from your cameras, while others arrive from different areas. That’s okay — your preseason patterning sets the foundation. If you hunt early, you’ll have a major advantage while bucks are still consistent. If they shift, your scouting and data skills will help you pivot effectively.
Final Thoughts
Patterning deer before the season isn’t about luck — it’s about discipline and strategy. Combining with satellite maps, trail cameras, glassing sessions, and smart observations, you’re building a blueprint for success. Don’t wait for opening day to “figure it out.” The work you put in now could be the difference between watching a buck from a distance or notching your tag in the first week.